How to Block an Email Address on iPhone from Gmail and iCloud
In this article, we are going to teach you how you can prevent emails from a particular email address to appear in your iPhone’s Mail app. You can’t block email addresses from within the Mail app or any other email app for the iOS, and if you block any email addresses from your inbox on your computer, it will be blocked from the iPhone as well.
Gmail
- Visit your Gmail – Type http://www.gmail.com from your computer’s web browser, you’ll go to your inbox if you’re logged in.
-In case you are not signed in, enter your email address and password before start anything.
- Select an email you want to block – Scroll down within your inbox until you find that particular email that you want to prevent Press on it when you see it.

– You can also write the name associated with the email address into the search of the inbox to search for emails from the applicable contact.
- Press the down arrow – this button you will find in the right corner of the already open email. A Drop down menu will show.
- Press Block “[Name]” – This box you will find in the drop-down menu. The Name now will be replaced by the name of the sender.
For example, to block emails from Team Foundation, you have to press Block “Team Foundation”.
5.Press “ Block” when it prompts – This button you’ll find in the pop-up menu and by clicking will add the email address to your Gmail accounts’ block list, which confirms you that you will no longer get any emails from the address in your inbox anywhere includes your iOS.
You can still view the particular email address that you blocked in the Spam folder.
2nd Way by iCloud mail
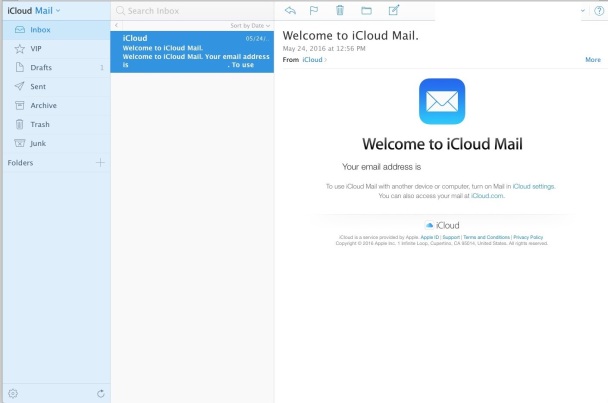
- Visit your iCloud Mail – Type http://www.icloud.com/#mail from your computer’s’ web browser. Once you click on it, you will go to your Apple Mail inbox if you’re signed in.
In case you aren’t signed in, you need to input the Apple ID and its password before start anything.
- Press the Settings – You have to press the Settings button in the bottom left corner of the page. A pop-up menu will show up.
- Press Rules – You’ll find it in the pop-up menu and by clicking it will open the Rules window.
- Select Add a Rule – This you’ll see in the top right side of the window.
In case you don’t see this option, Ensure that you’re on the Rules tab in the upper right corner of the window.
- Input an email address- Below the box “is from” heading, you have to write that particular email address you want to block.
If the above box heading says anything else, press the line and then press “is from” in the drop-down menu.
- Press the “Then” from the drop-down box – This box you will find on the lower side of the menu and by clicking it, a drop down menu will appear.
- Select the option which says “Move to Trash and Mark as Read” and follow the next step.
- Press “Done” – It’s in the lower side of the menu and By clicking it will create you rule, which will shift any emails from your blocked email address directly into the Trash when they’re received. This setting will also apply to your iOS.
Lucia Mandela is a Microsoft Office expert and has been working in the technical industry since 2002. As a technical expert, Lucia has written technical blogs, manuals, white papers and reviews for many websites such as office.com/setup .
This article provides a valuable tip for iPhone users who want to prevent emails from specific addresses from cluttering their Mail app. This information is helpful for those seeking to streamline their email management on their mobile devices, offering a practical solution to a common issue. It's always useful to have such guidance for a smoother email experience on iPhones. Now is the moment to take advantage lip fillers on thin lips for more information.
ReplyDelete