How to Connect your Surface to a Projector with Microsoft Wireless Display Adapter
Get link
Facebook
X
Pinterest
Email
Other Apps
Now, you can share your Surface screen wirelessly with Microsoft wireless display adapter. Stream anything that on your screen to a second display. Just connect your Surface to the wireless display adapter and watch movies, shows, or photos on a big screen. With the Microsoft display adapter, you can easily connect your Surface device to any compatible display. If you have a Microsoft Wireless Display Adapter but didn’t know how to use it, the here is the procedure to connect your Surface to a projector or monitor with Microsoft Wireless Display Adapter. Connect the Wireless Display Adapter to the second screen
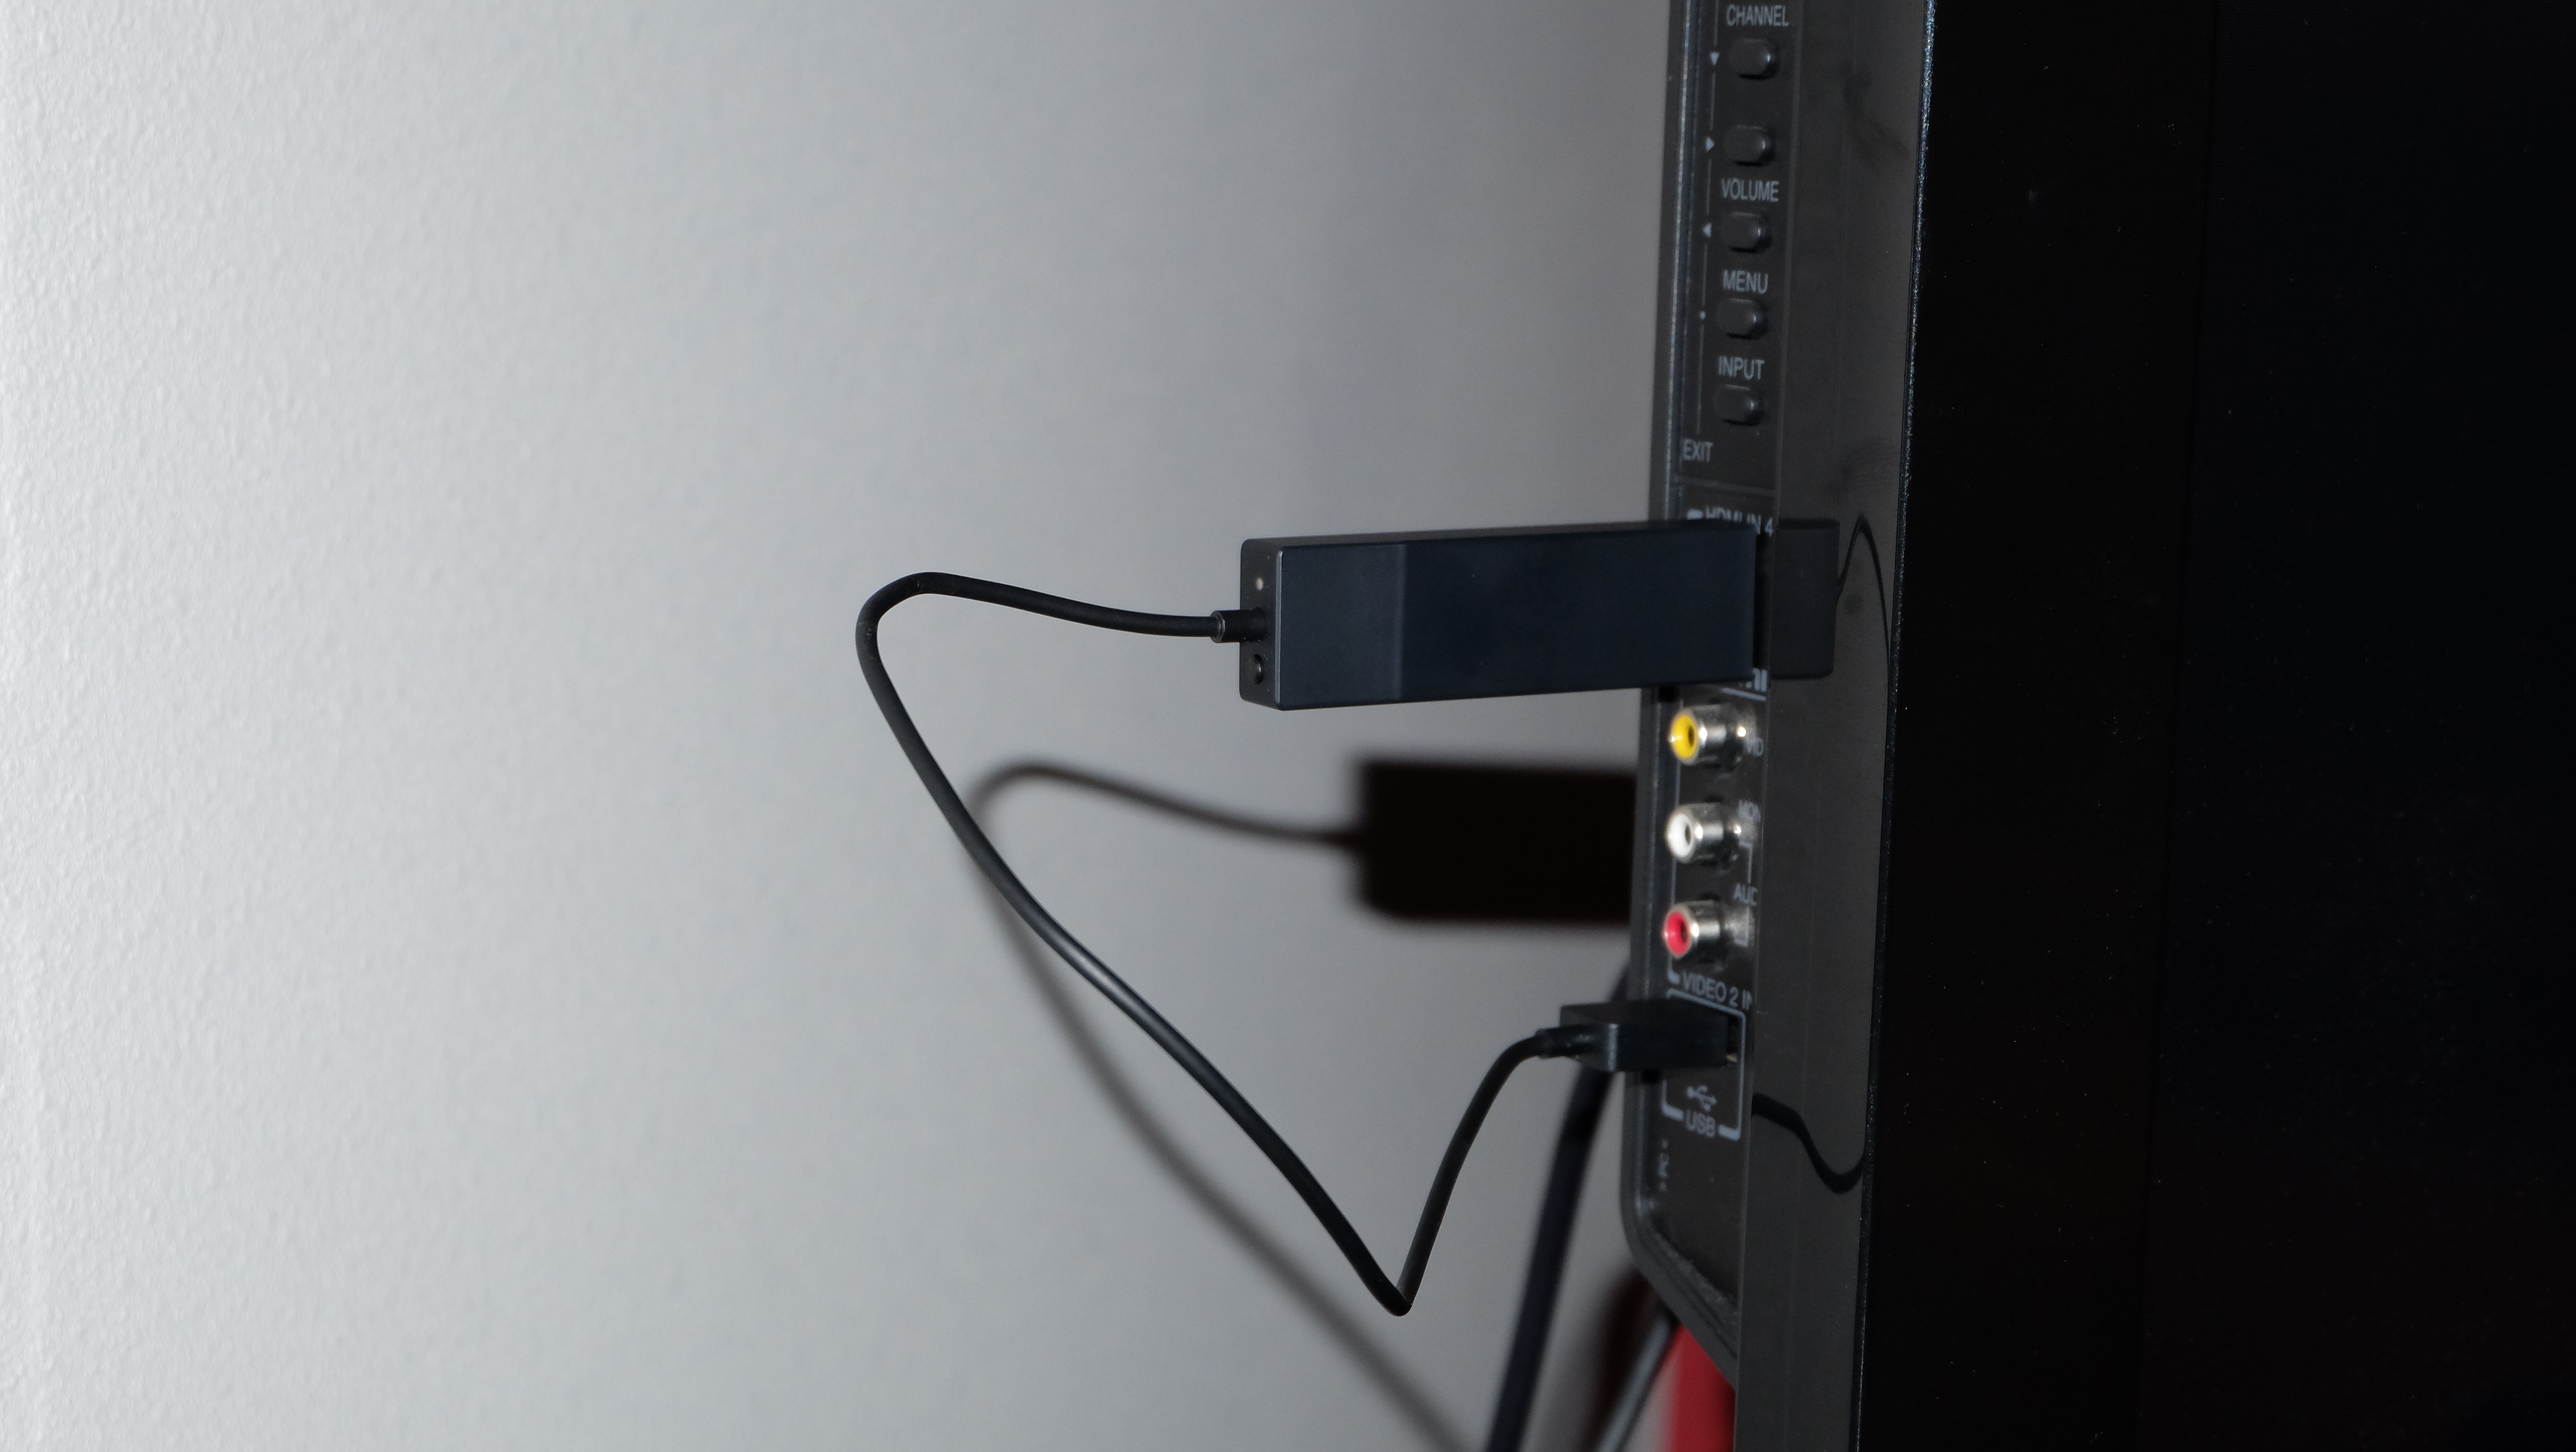
The first thing you have to do is correct connections. Make sure to plug the adapter properly into the right port of the second screen. Check the below guide to connect the Microsoft wireless display adapter correctly.
• Wireless display adapter requires power for running, so plug in it to the USB charging port.
• It’s best if the device you’re connecting the adapter with has both a USB charging port as well as an HDMI port.
• In case the device does not have a USB charging port, then you can use the USB charging port of your Surface laptop, Surface docking station, or any USB charger. Connect the USB end of the wireless adapter to any one of these.
• Update your Windows version before you try using the display adapter on your Surface. Your Surface laptop should be running on Windows 8.1 or Windows 10 to use the Microsoft Wireless Display Adapter. Download the Microsoft Wireless Display Adapter app
Connections have been set up correctly, now move to your Surface laptop and download the Microsoft Wireless Display Adapter app from the Microsoft Store.
1. Open ‘Start.’
2. Click on ‘All Apps.’
3. Find and select ‘Microsoft Store.’
4. Type ‘Microsoft wireless display adapter’ into the search box.
5. Select the ‘ Microsoft Wireless Display Adapter’ app.
6. Then select ‘Free.’
The app will start downloading and install automatically. Connect Surface to the Wireless Display Adapter
Finally, use these steps to connect your Surface laptop to a projector, monitor, or HDTV with Microsoft Wireless Display Adapter.
1. Take the adapter.
2. Insert the HDMI side of the adapter to the HDMI port of the second screen (projector, monitor, or HDTV).
3. Now, insert the USB side of the adapter to the USB charging port of the second screen (projector, monitor, or HDTV).
4. Turn on your second screen, and set the HDMI input. Make sure you’ve selected the input for the right HDMI port.
5. Now, move back to your Surface laptop.
6. Tap on the ‘Action Center’ button in the taskbar. You can also open the menu by swiping in from the right side of the display.
7. Tap ‘Connect’.
8. Select your Microsoft Wireless Display Adapter from the displays list.
You’re successfully connected. The device you have connected your Surface with works as the second display. Now, display your presentation at work wirelessly on the projector, watch your favorite movie, or show your trip album on a big screen. Tips: For preventing someone from connecting to your adapter:
Anyone can connect their device to your adapter and use it without your permission if you haven’t change the pairing options. Microsoft Wireless Display Adapter allows changing of pairing mode to the PIN code. You can set the pairing mode to ‘Requires PIN code to pair’ to prevent unauthorized connecting.
1. Open ‘Start.’
2. Click on ‘All Apps.’
3. Select ‘Microsoft Wireless Display Adapter.’
4. Choose ‘Requires PIN code to pair,’ under “Pairing mode.”
Next time when a new device is trying to connect to the adapter, a code will display on the second screen. You need to enter that PIN on your Surface in Microsoft Wireless Adapter app to allow pairing. Lucia Mandela is a Microsoft Office expert and has been working in the technical industry since 2002. As a technical expert, Lucia has written technical blogs, manuals, white papers, and reviews for many websites such as office.com/setup.
An annoying situation in Windows is Black Screen, which is commonly known as BSoD- Black Screen of Death. In the case of BSod, the computer doesn’t show any error message leaving the user without knowing the reason for this sudden Black Screen in Windows 10. There are two possible layouts of black screen. In the first scenario, you will log in to the computer but later you will not get a display. And in the second scenario, the display remains black and you cannot log in to the computer. The situation has been reported by the number of people who use Windows 10. But, we are going to solve the Black Screen Problem after signing in Windows 10. If you are also going through the same issue, then follow the steps to troubleshoot the Black Screen problem. 1. As mentioned above, in one scenario you will be able to log in to the computer. Log in the computer, then go ahead and open the task manager. • To open Task Manager press Ctrl+Alt+Del . • ...
Have you face this situation, you are using your Windows 10 computer system and all of sudden your operating system automatically increase their volume level. You have shocked that what the happening on your computer. But no need to worry for that its a fundamental issue on the Windows 10 PC. So please now, no need to wondering on that condition if your computer system strangely increases their volume. We are proving some of the amazing ways to resolve this issue. So if you are also facing this issue, then please read this post carefully and follow one of them the way to get immediate right with it. Some Effective Way to Solve Window 10 Volume Increase Issue Method-1 Run the Audio Troubleshooter You have seen that your windows ten computer system increase their audio or volume or do down automatically by itself then you need to Run the Audio Troubleshooter on your system. For this, Press the Windows + I key to open up the S...
Google smartphones are widely used among professionals. Their built and design is quite different from the other brands and looks more professional. Each of their subsequent smartphones tries to outdo the previous ones in terms of features and design. The latest Google Pixel 5 has tried to do the same, but some contradictions are going on. Users are claiming that the previously launched Google Pixel 4 is far more compelling than the latest version. Google launched Pixel 5 in the year 2020. Pixel 5 has many of the latest software that negates many hardware limitations observed in the earlier version. But it also removed certain useful features that are present in Pixel 4. Usually, Pixel smartphones are quite reasonable in price. Google has also released some budget smartphones for a wide range of user base. But Pixel 5 neither has unique features, nor was its price reduced. This could be the reason why people think Pixel 4 as a feasible option. The largest-sell...

Comments
Post a Comment