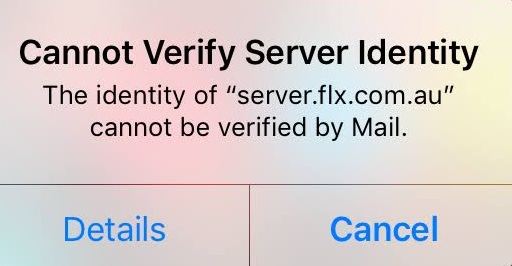
How to Fix “Cannot Verify Server Identity” Error on iPhone
iOS is among the most stable devices around the world; however, it is not secured from every issue. One of such issue is “iPhone Cannot Verify Server Identity.” The error code is also found in Mac or other iOS devices and it affects both IMAP and POP3 users.
This issue is prominently found in Apple supported devices and it primarily happens in the latest versions of your Mac iOS 10.2X. To troubleshoot this issue, you can navigate to the settings and then Accounts as an alternative method. It may be caused due to your mail application which might be corrupted.
Here is how to solve this issue via various methods with their respective steps:
Reasons for Causing the Server Identity Verification Error
The smartphone checks the SSL certificate received by the server to authenticate all the validating details. After getting the certificate, your iPhone will verify its validity and then matches your phone’s internal data like the particular domain name, authenticated service provider, and so on.
In case it finds any defect or issue with the certificate validation, domain name, company portfolio, and its authentication of the service, then it reflects the error message on your screen, which says “iPhone Cannot Verify Server Identity.” You can also define it as the server connection error.
Sometimes, this error message might also appear on your system’s screen if your smartphone gets issues while configuring and reading an SSL certificate.
These are the reasons of arising the error:
- You are using a different account.
- You made a new different account on your phone.
- The certificate is outdated or expired
- Now, your server has changed the certificate for any reason.
Creating New Email Account on iPhone
If you are facing the issue of server authentication connection, then it is advised to deactivate the existing account first and then try to create a fresh email account.
If you wish to do this task, then you have to follow these steps:
- Firstly, Sign in to your iPhone account.
- Then, go to the iPhone’s settings.
- After that, hit the Mail option there.
- Next, tap on the “Accounts” option. It will show you all the available accounts that your device holds.
- Now, hit the account which you like to delete.
- Next, slide the screen upward to get an additional option.
- After that, hit the “Delete Account” tab located at the lowermost portion of your device’s screen. It appears red as usual.
- Now, verify your action by tapping the “Confirm” tab.
- Now, this is the time to make a fresh account by replacing the old one as we have removed the earlier account.
- Follow these provided instructions to know how to create a new email ID on iPhone:
- Firstly, go to the “Phone’s Settings” page.
- Then, locate the calendars, Contacts, Mails icon on the page, and then hit it.
- After that, hit the “Add Account” option. It is situated inside the Accounts segment.
- Now, tap on the “Others” option.
- Then, you will find the “Add Mail Account” option on your device’s screen.
- After that, hit the proceed option there.
- Next, a fresh screen will display on your screen. Here, you have to provide some information like your Email ID or secured passcode.
- Now, adjust your settings related to the mail server for the incoming and outgoing processes.
- Then, hit on the “Save” option located on the uppermost portion of your screen. It will direct your device settings to add-on your newly created account to your device’s account settings.
Switching off SSL Certificate in Mail Account
- Firstly, sign in to the iPhone account.
- After that, go to the “Settings” menu.
- Now, hit the “Mail” option there.
- Next, tap on “Accounts.”
- Select and then hit the mail account as per your desire.
- Now, tap on your account’s label once more.
- After that, select the option “Advanced.”
- Now, search for the slider “Use SSL” and hit it. It appears green in color before being tapped.
- Then, touch the “Account” tab. It is situated at the uppermost right-hand side edge of the window.
- Finally, hit the “Done” tab to complete the process.
Becky Losby is a self-professed security expert; he has been making the people aware of the security threats. His passion is to write about Cyber security, cryptography, malware, social engineering, internet and new media. He writes for Norton security products at norton.com/setup.

Comments
Post a Comment